Terraform Lab 01 — Setup, Providers & Your First Resource
This is the first lab in the Terraform track. It assumes zero Terraform experience — only the networking concepts from the Packet Tracer labs (subnets, gateways, NAT, DNS).
By the end you will have: Terraform installed, GCP authentication working, and a real VPC created and destroyed from code.
Terraform resources from Terraform Registry: https://registry.terraform.io/providers/hashicorp/google/latest/docs/resources/compute_network
Lab contract
| Item | This lab |
|---|---|
| Execution model | Standalone introduction in terraform-labs/01-first-vpc/ |
| Starts from | No prior Terraform state |
| Creates | One temporary custom-mode VPC |
| Ends with | terraform destroy; Lab 02 starts a new cumulative foundation |
| Next | Lab 02 — VPC & Subnets |
Resource summary
| Terraform block | Count | Purpose | Reused later? |
|---|---|---|---|
google_compute_network.first_vpc |
1 | Demonstrates the resource lifecycle and custom-mode VPC setting | No; destroyed in this lab |
Track continuity
Lab 01 is intentionally disposable. Labs 02–04 share one working directory and state. Lab 05 is a standalone consolidation of Labs 02–04. Labs 06–08 are standalone advanced scenarios so their overlapping CIDRs and resource names do not collide.
Track resource progression
| Lab | State relationship | Main resources introduced | Outcome |
|---|---|---|---|
| 01 | Standalone and destroyed | VPC | Learn init, plan, apply, state, and destroy |
| 02 | Starts cumulative Labs 02–04 state | VPC and two subnets | Establish the shared foundation |
| 03 | Appends to Lab 02 | Cloud Router, Cloud NAT, firewall rules | Add egress and policy |
| 04 | Appends to Labs 02–03, then destroys | VMs, private DNS zone, record | Verify the complete foundation |
| 05 | New standalone state | Complete two-tier stack | Rebuild the foundation as one scenario |
| 06 | New standalone state | Two VPCs, subnets, peerings, firewall | Introduce multi-VPC connectivity |
| 07 | New standalone state | Health check, backend services, URL map, proxy, forwarding rule | Introduce L7 traffic distribution |
| 08 | New standalone state | Test VM, HA VPN, Cloud Router, tunnel, BGP peer | Complete the track with hybrid routing |
Every lab repeats its own Lab contract and Resource summary so it is clear whether to append, start fresh, retain state, or destroy resources.
The Mental Bridge
| Packet Tracer | Terraform |
|---|---|
| Drag a router onto the canvas | Declare a resource block in a .tf file |
| Device config lives in its RAM/NVRAM | Desired state lives in .tf files + state file (terraform.tfstate) |
write memory saves your work |
terraform apply makes reality match the code |
| Delete device & re-drag it | terraform destroy then terraform apply — no corruption possible |
Why this matters after the .pkt incident
Terraform's entire value proposition: your infrastructure is text in
git. If anything breaks, terraform apply rebuilds it identically.
1. Install the tools
brew install terraform
brew install --cask gcloud-cli   # or: brew install google-cloud-sdk

terraform version
gcloud version
2. Authenticate to GCP
# Interactive login + Application Default Credentials for Terraform
gcloud auth login
gcloud auth application-default login

# Pick a billing-enabled project you are authorized to use
gcloud config set project YOUR_PROJECT_ID

# Enable the API used throughout the track
gcloud services enable compute.googleapis.com
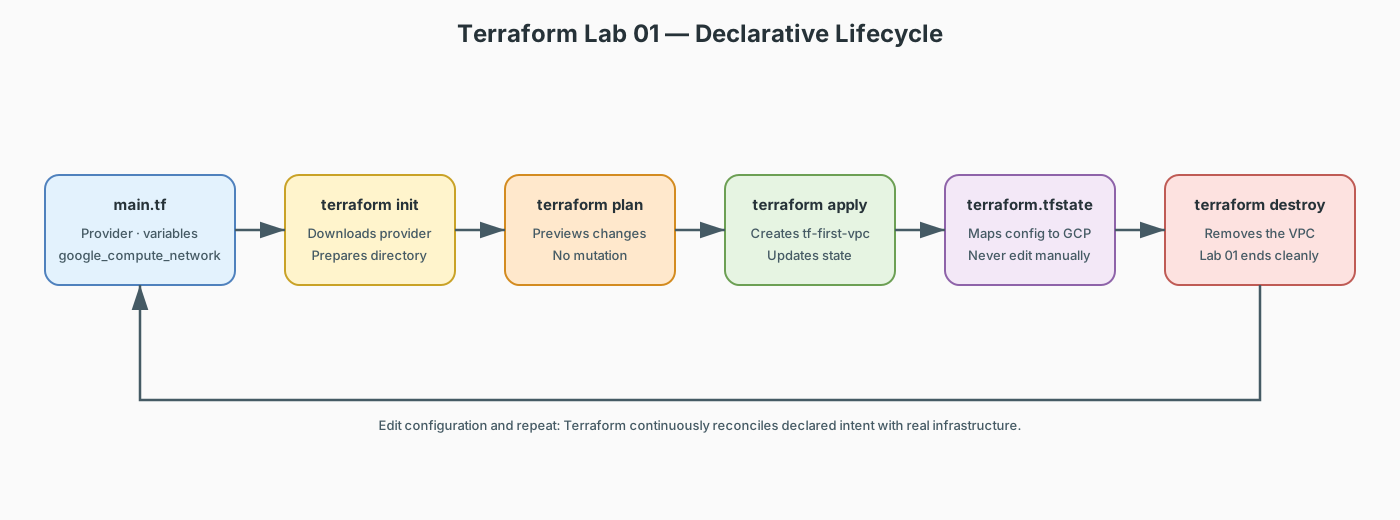
3. The five commands that are 95% of Terraform
terraform init      # download providers, prepare the working directory
terraform fmt       # auto-format .tf files (like a code formatter)
terraform plan      # dry-run: "here's what I WOULD change"
terraform apply     # make it real (asks for confirmation)
terraform destroy   # tear it all down
The plan → apply split is the safety mechanism PT never had: you always
see a diff before anything changes.
4. Your first configuration
Create a folder terraform-labs/01-first-vpc/ and a single file main.tf:
terraform {
  required_version = ">= 1.5.0"

  required_providers {
    google = {
      source  = "hashicorp/google"
      version = "~> 5.0"
    }
  }
}

provider "google" {
  project = var.project_id
  region  = var.region
}

variable "project_id" {
  description = "GCP project ID to deploy into"
  type        = string
}

variable "region" {
  description = "GCP region"
  type        = string
  default     = "us-central1"
}

# The cloud equivalent of drawing a network boundary in Packet Tracer
resource "google_compute_network" "first_vpc" {
  name                    = "tf-first-vpc"
  auto_create_subnetworks = false   # we will define subnets ourselves in lab 02
}
5. Run the lifecycle
cd terraform-labs/01-first-vpc

terraform init
terraform plan -var="project_id=YOUR_PROJECT_ID"
terraform apply -var="project_id=YOUR_PROJECT_ID"
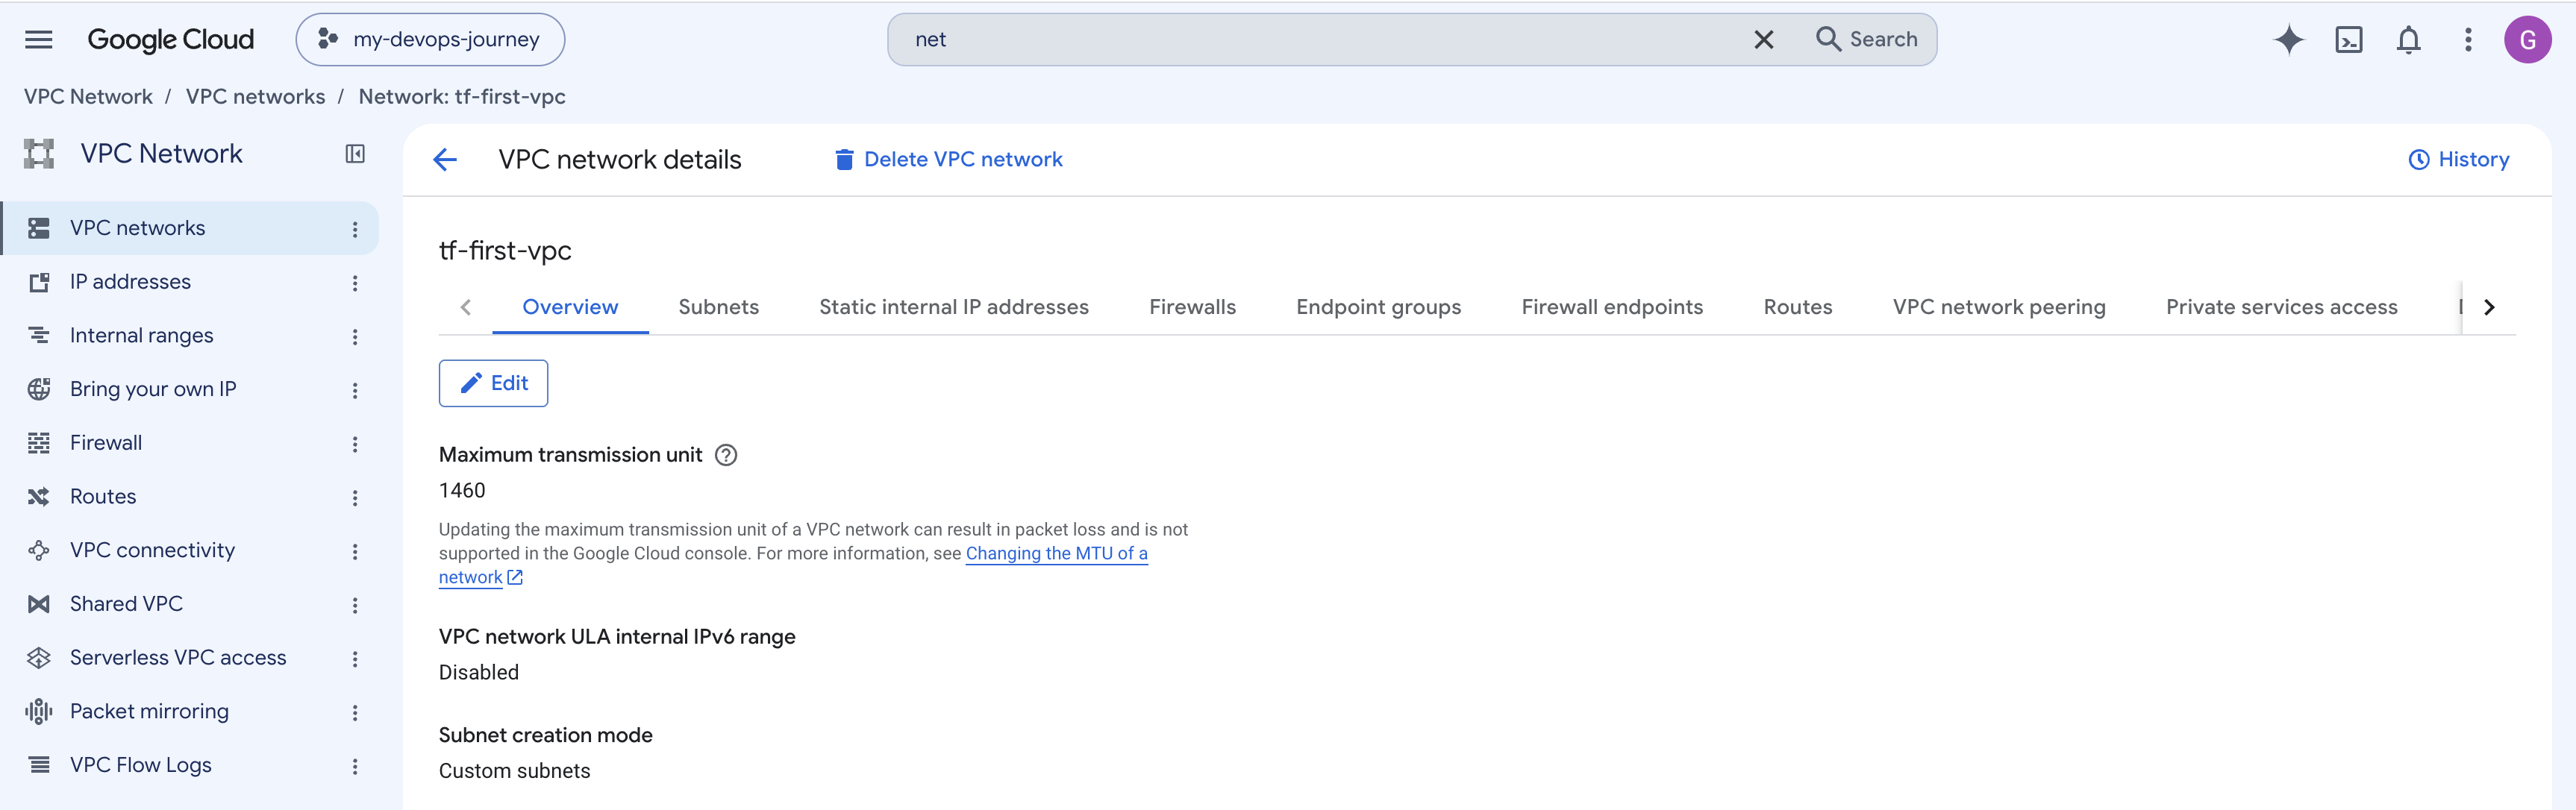
Type yes. Then verify in the console:
Now tear it down — this is the part that feels magical after PT:
6. What just happened (concepts to internalize)
- Provider = the plugin that translates
resourceblocks into GCP API calls (hashicorp/googlehere). - Resource = one real thing in the cloud.
google_compute_networkis the VPC boundary — the same conceptual "container" your Packet Tracer topology lived inside. - State file (
terraform.tfstate) = Terraform's record of what it created. Never edit it by hand;.gitignoreit in real projects. - Variable = a parameter, so the same code works across projects/regions.
7. Checklist before lab 02
-
terraform applycreated a VPC visible viagcloud compute networks list -
terraform destroyremoved it cleanly - You can explain: plan shows intent, apply executes, state records reality
-
auto_create_subnetworks = false— because in lab 02 we control the subnets ourselves, exactly like choosing/24ranges in Packet Tracer
Next: Lab 02 — VPC & Subnets: Recreating the Packet Tracer Topology